

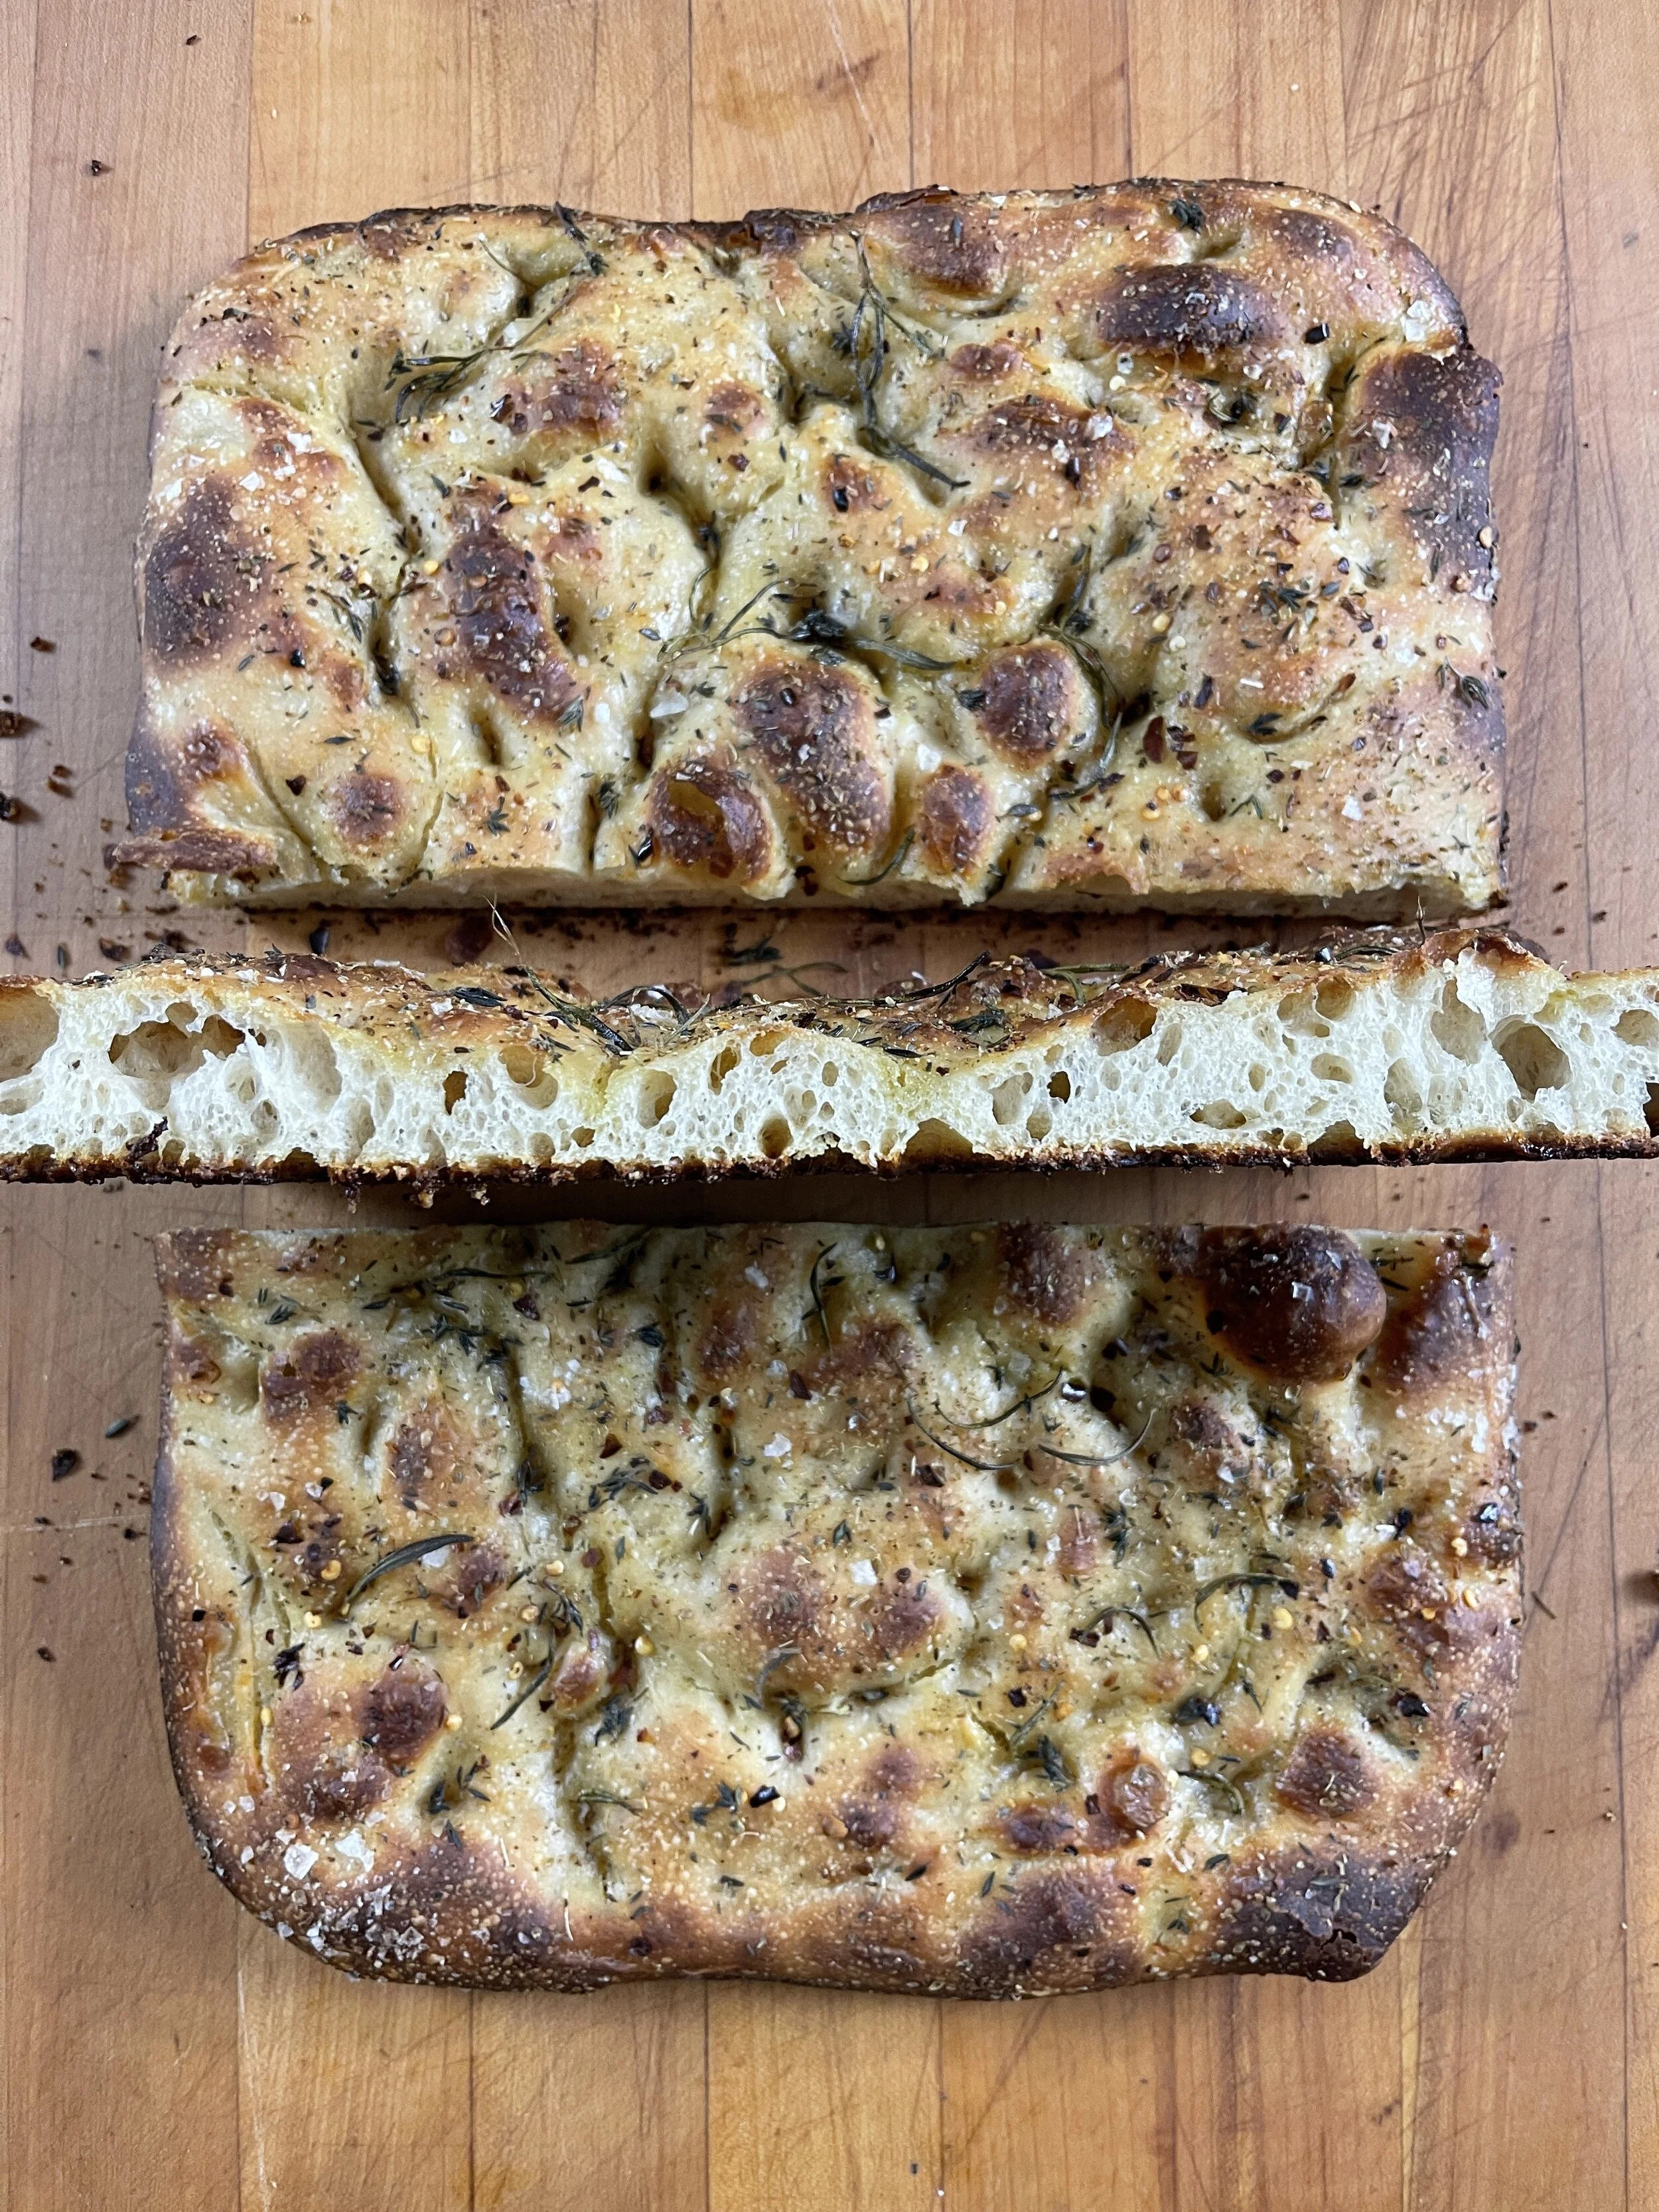
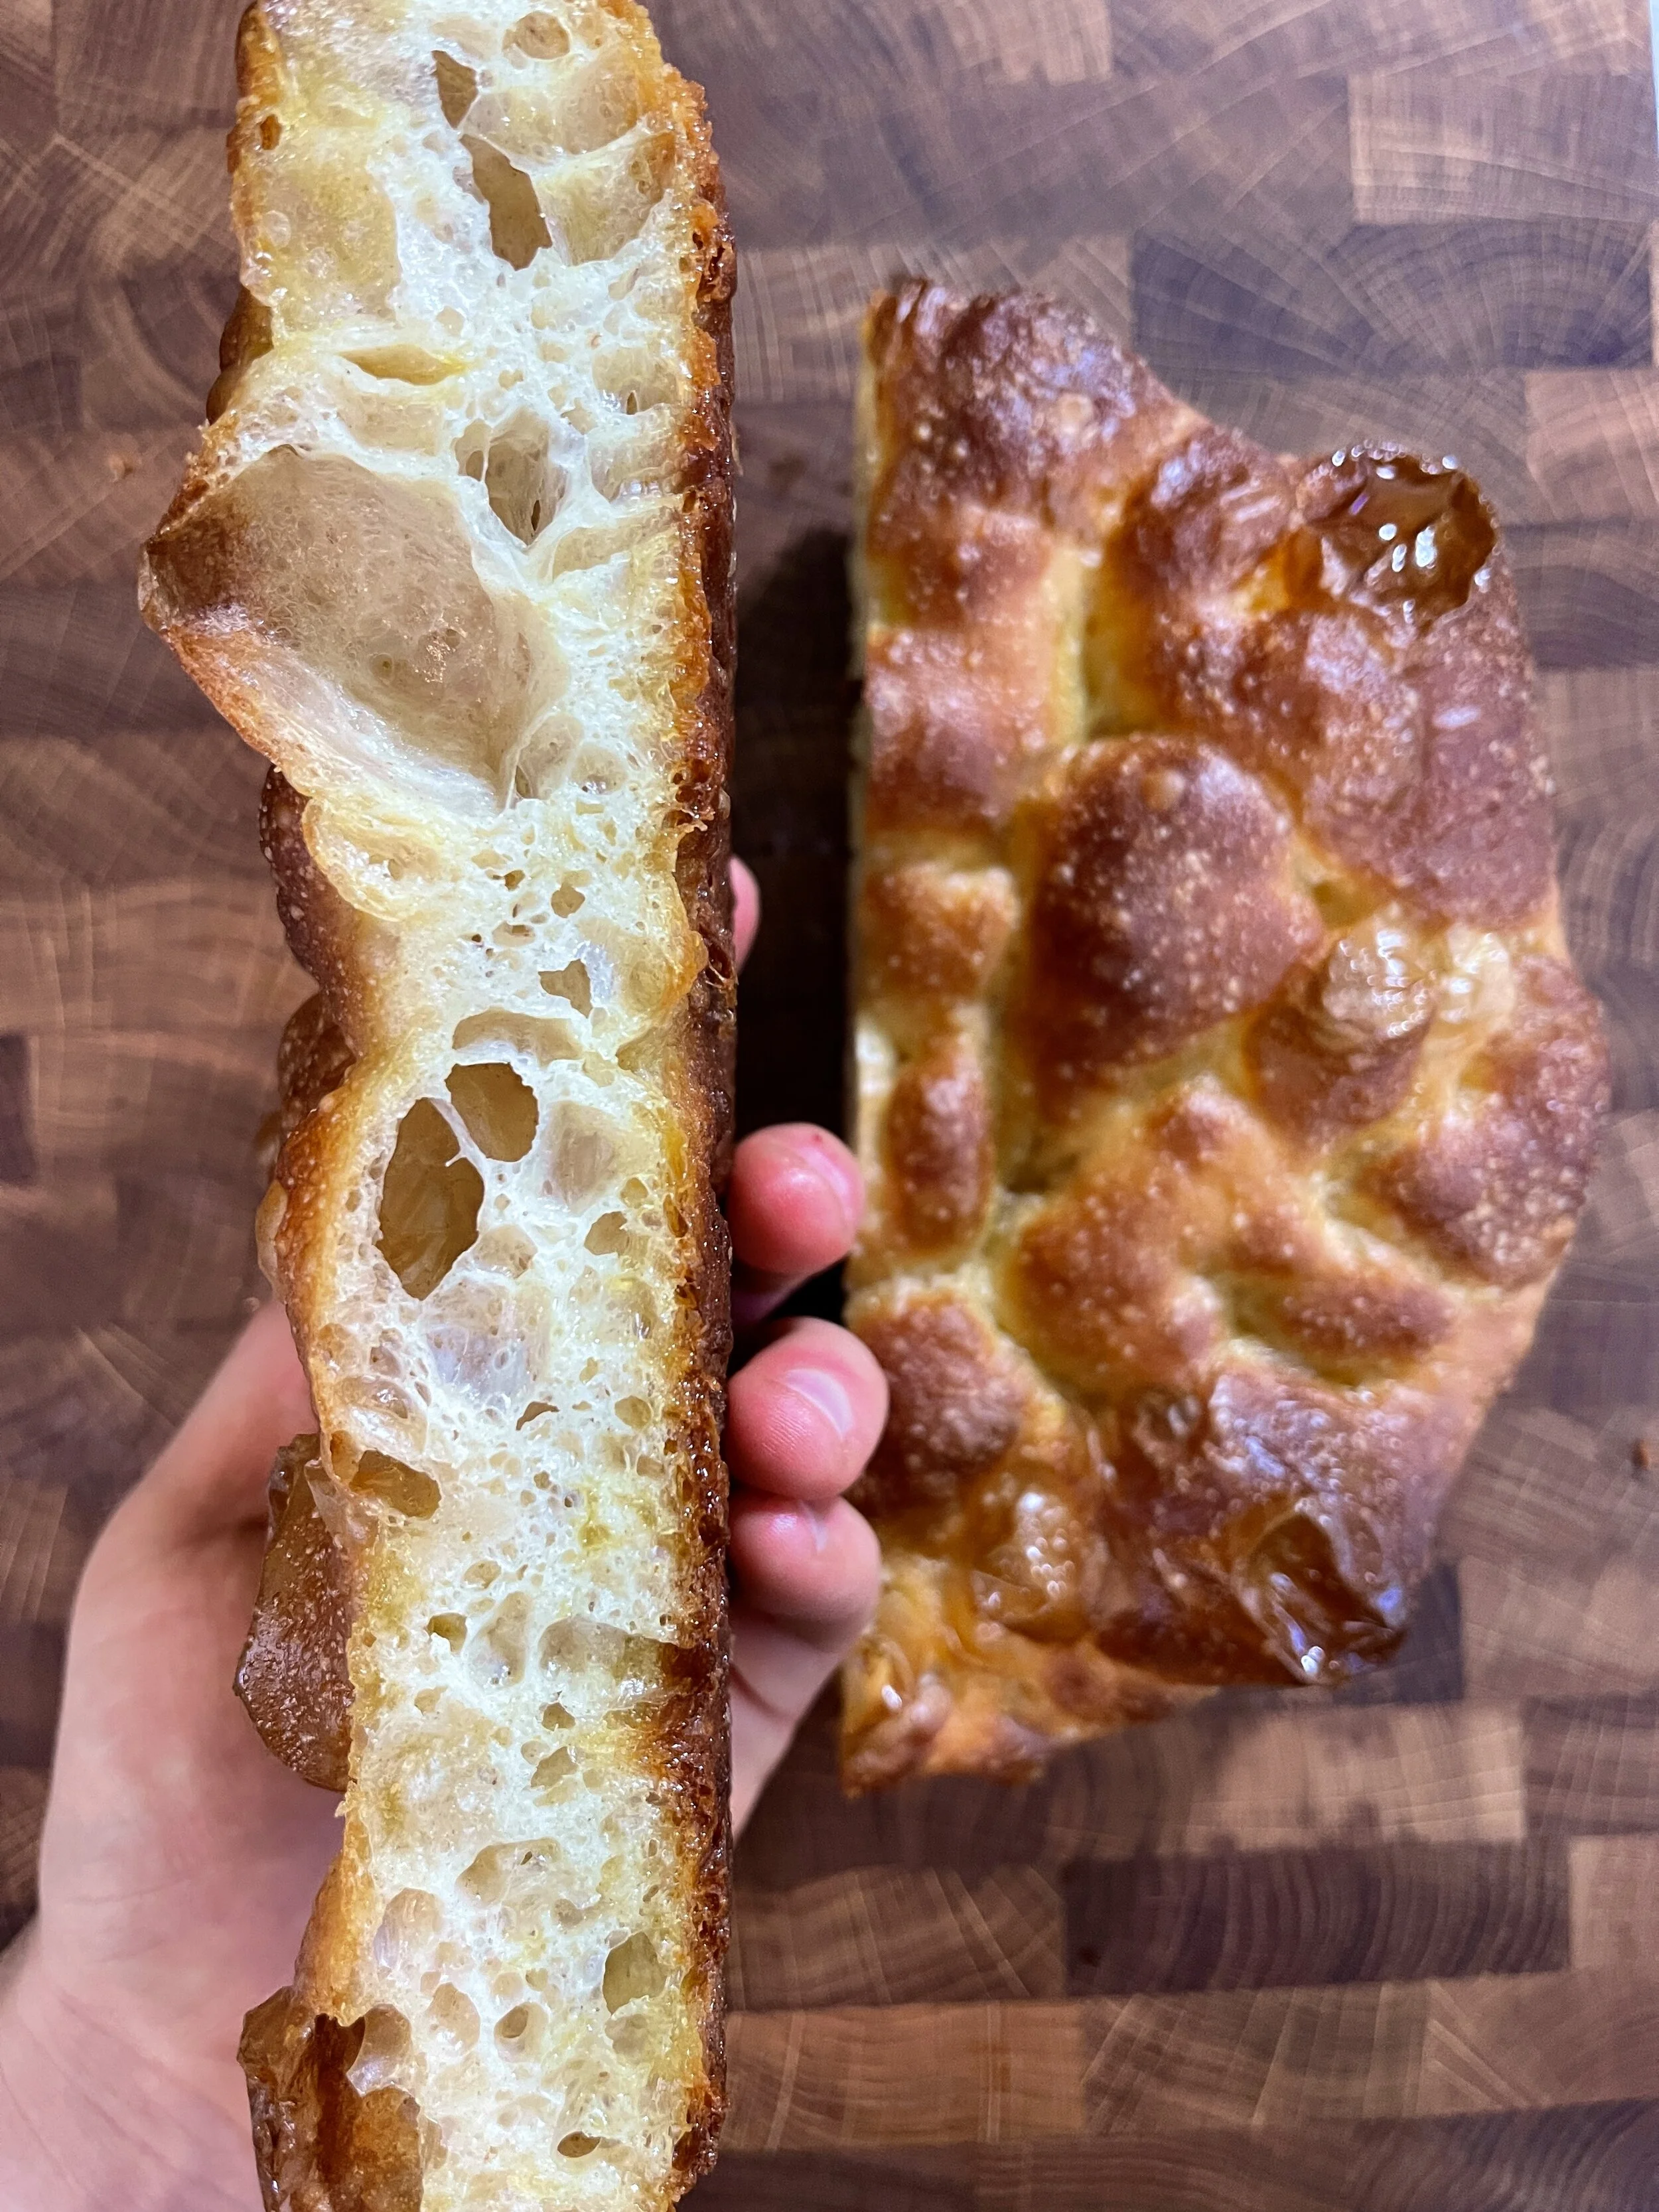
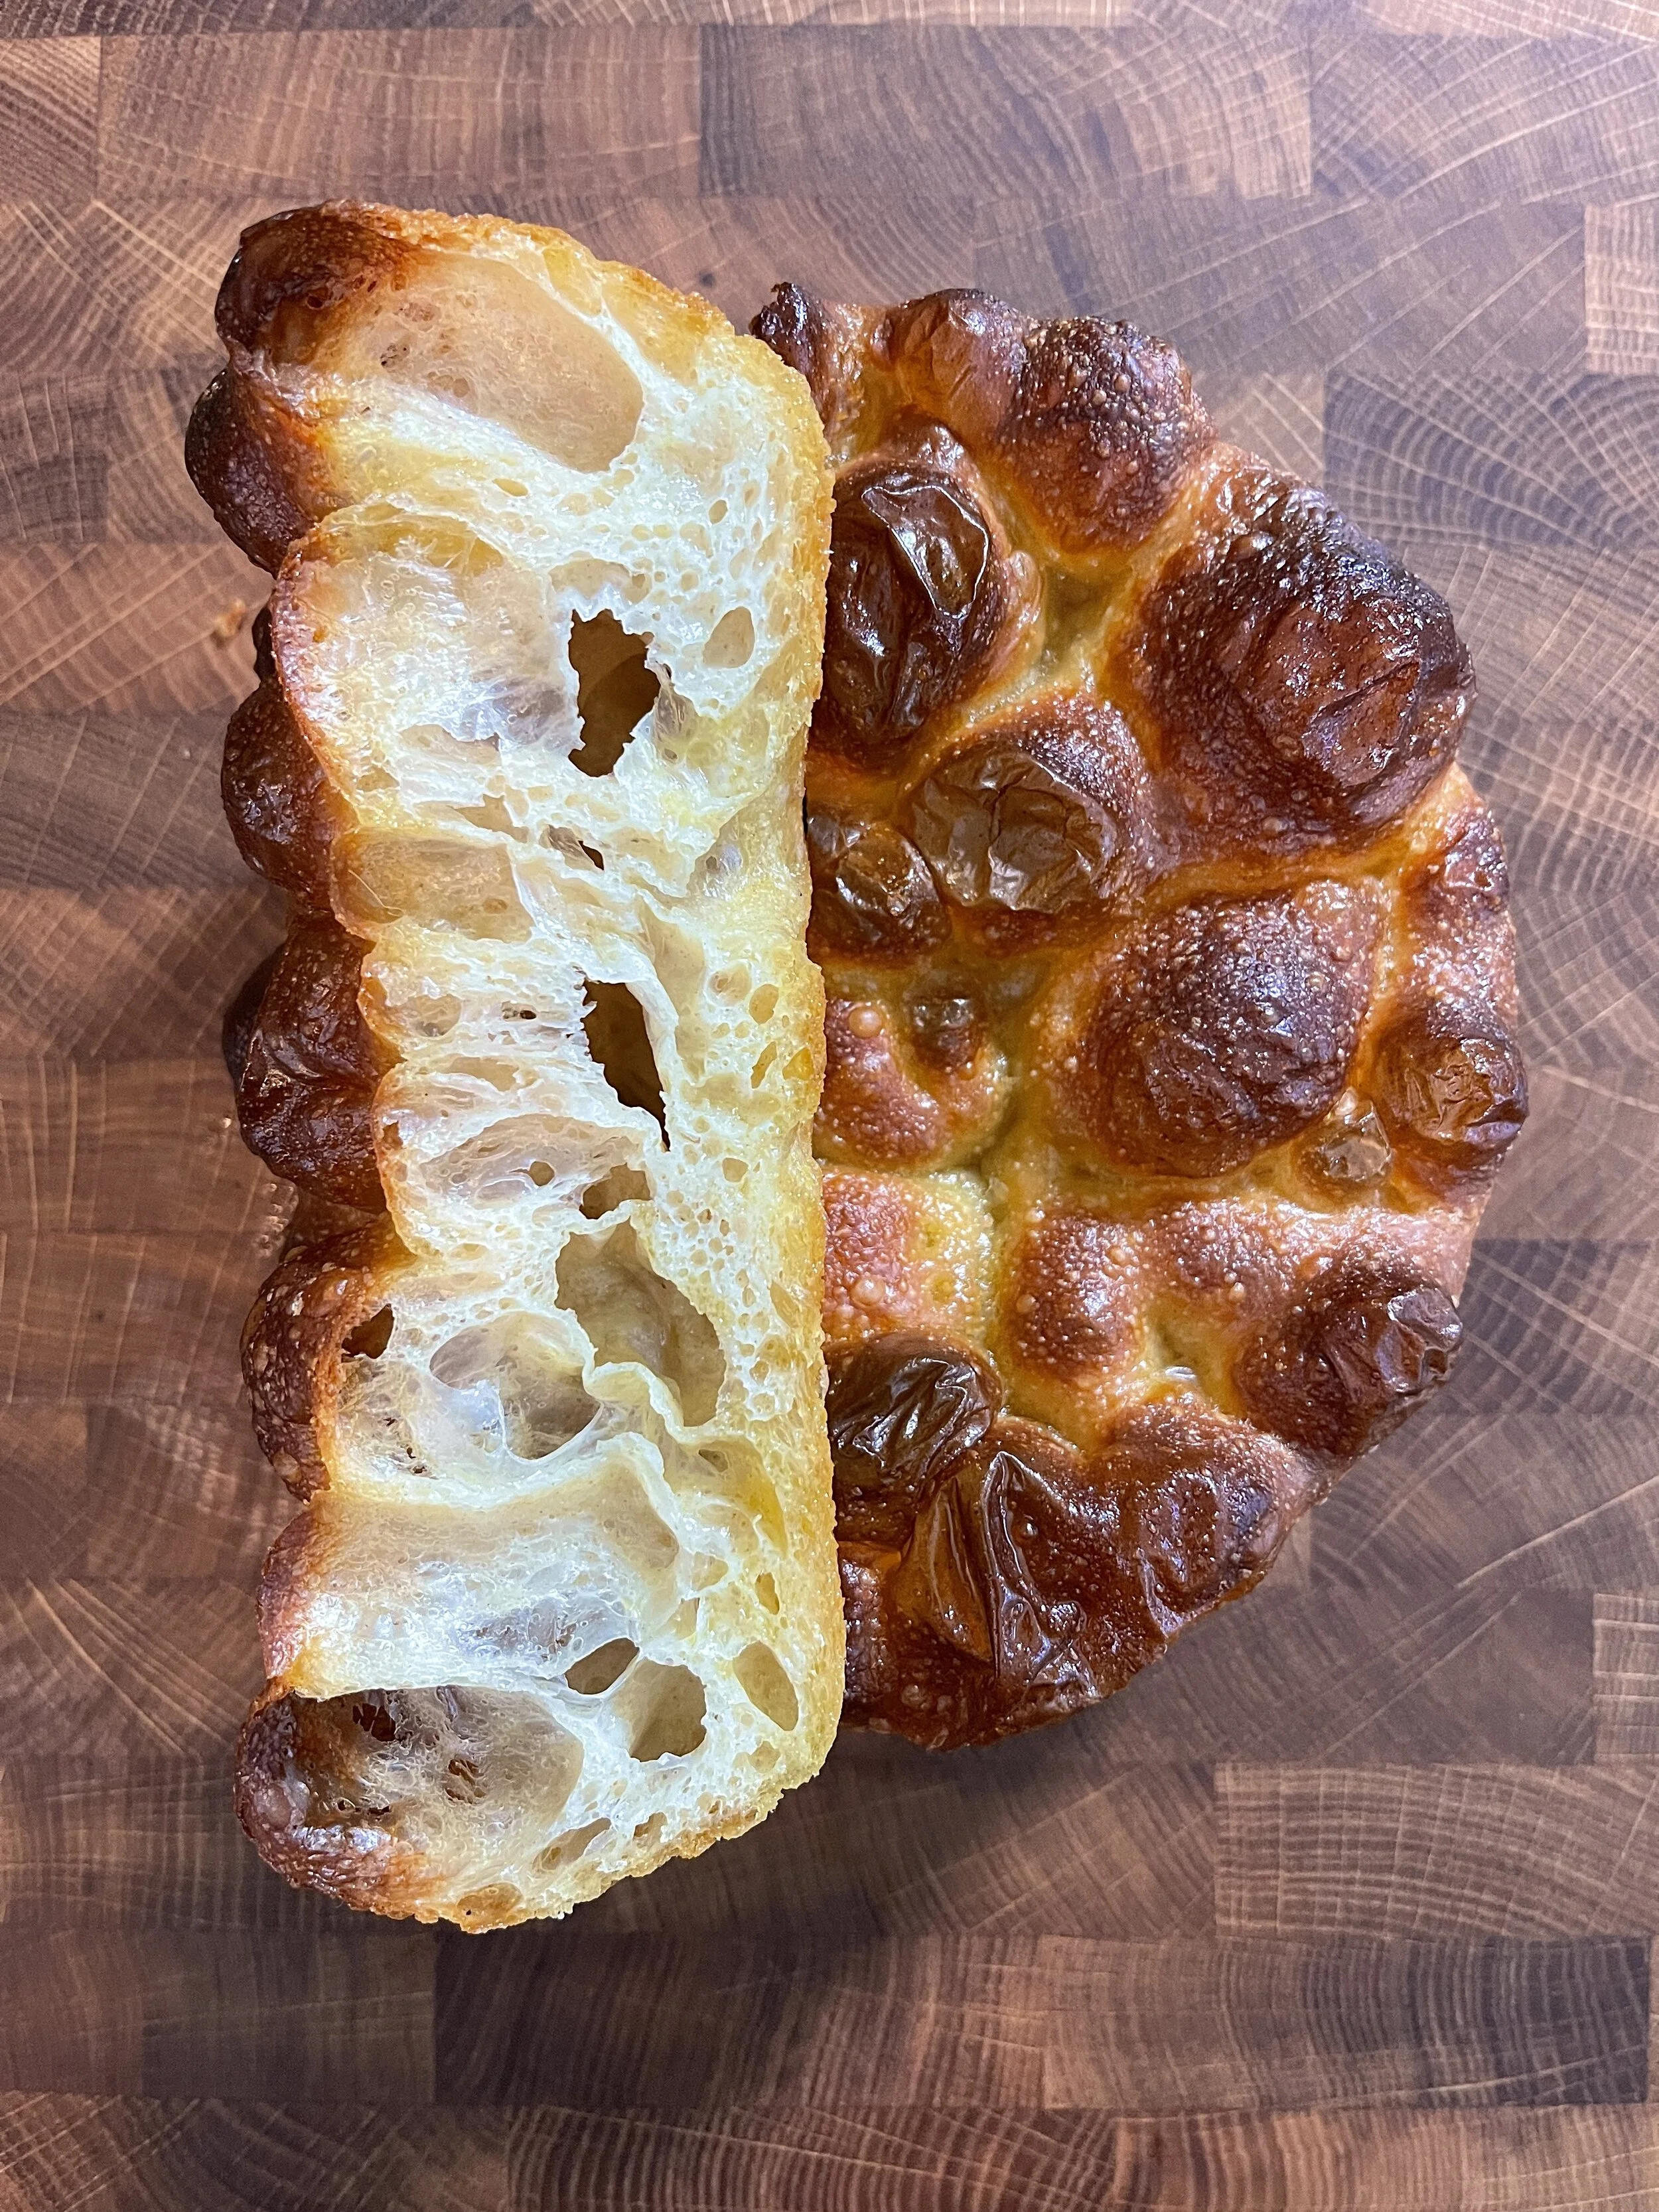
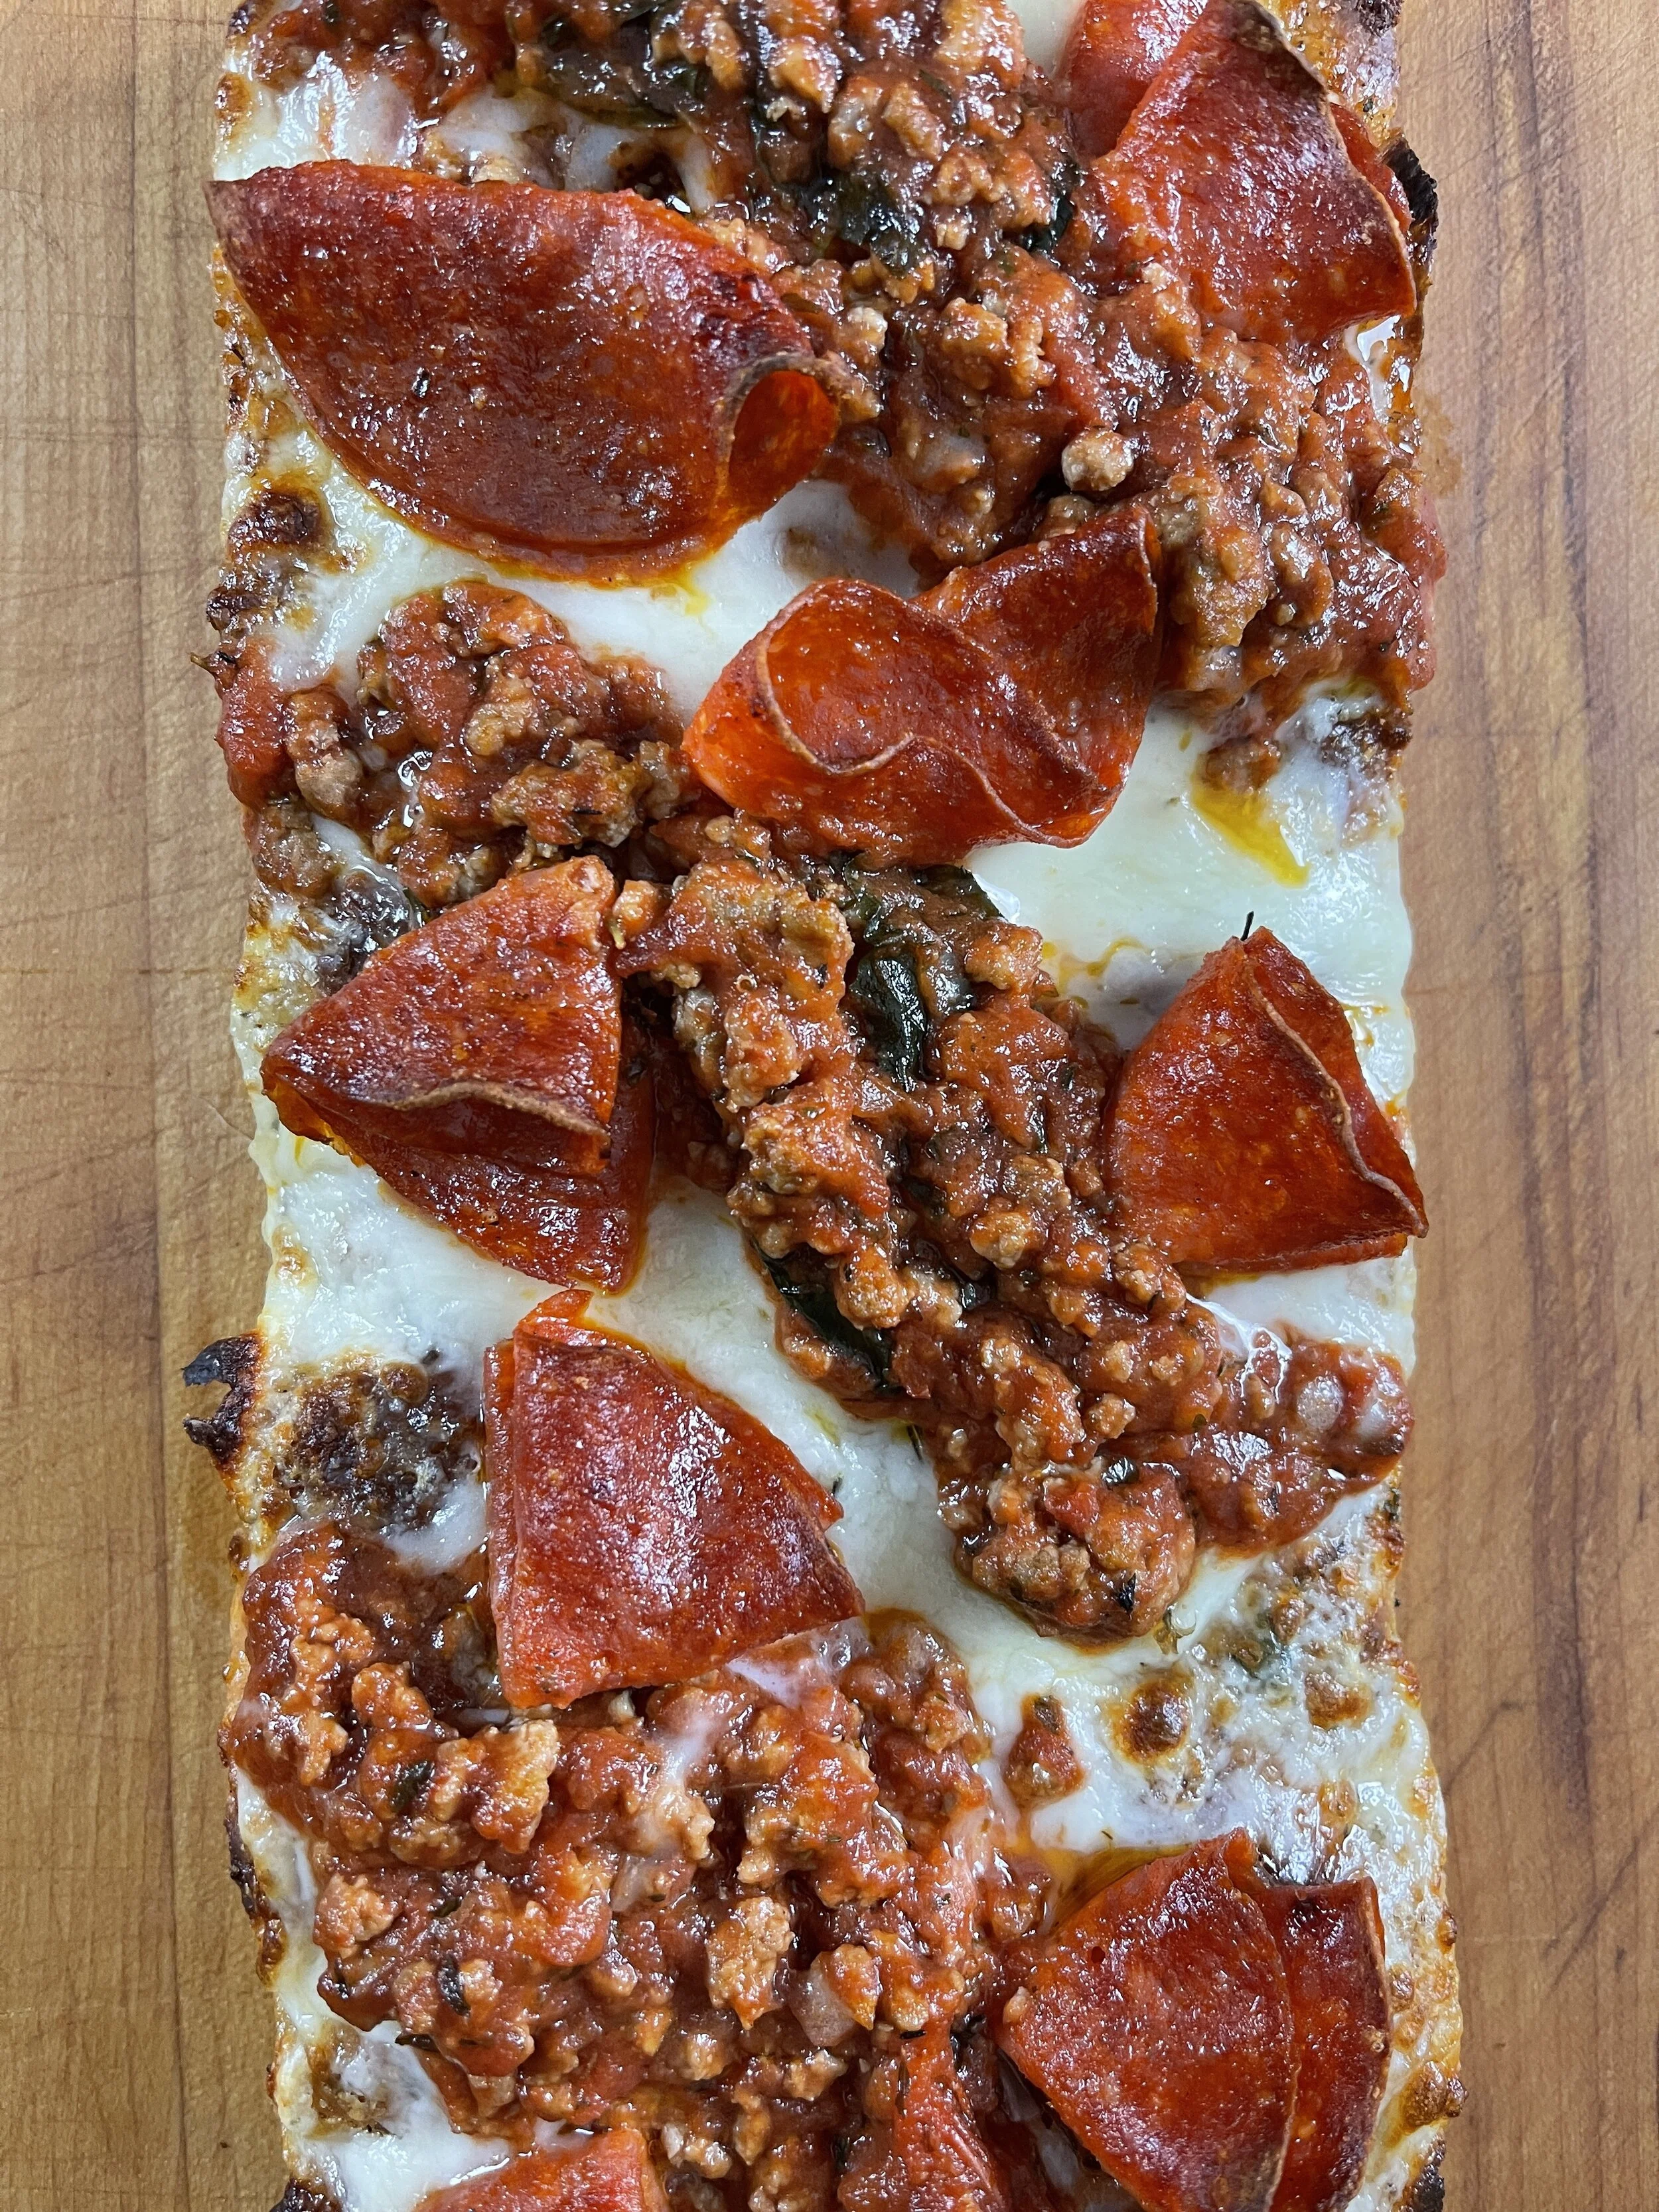
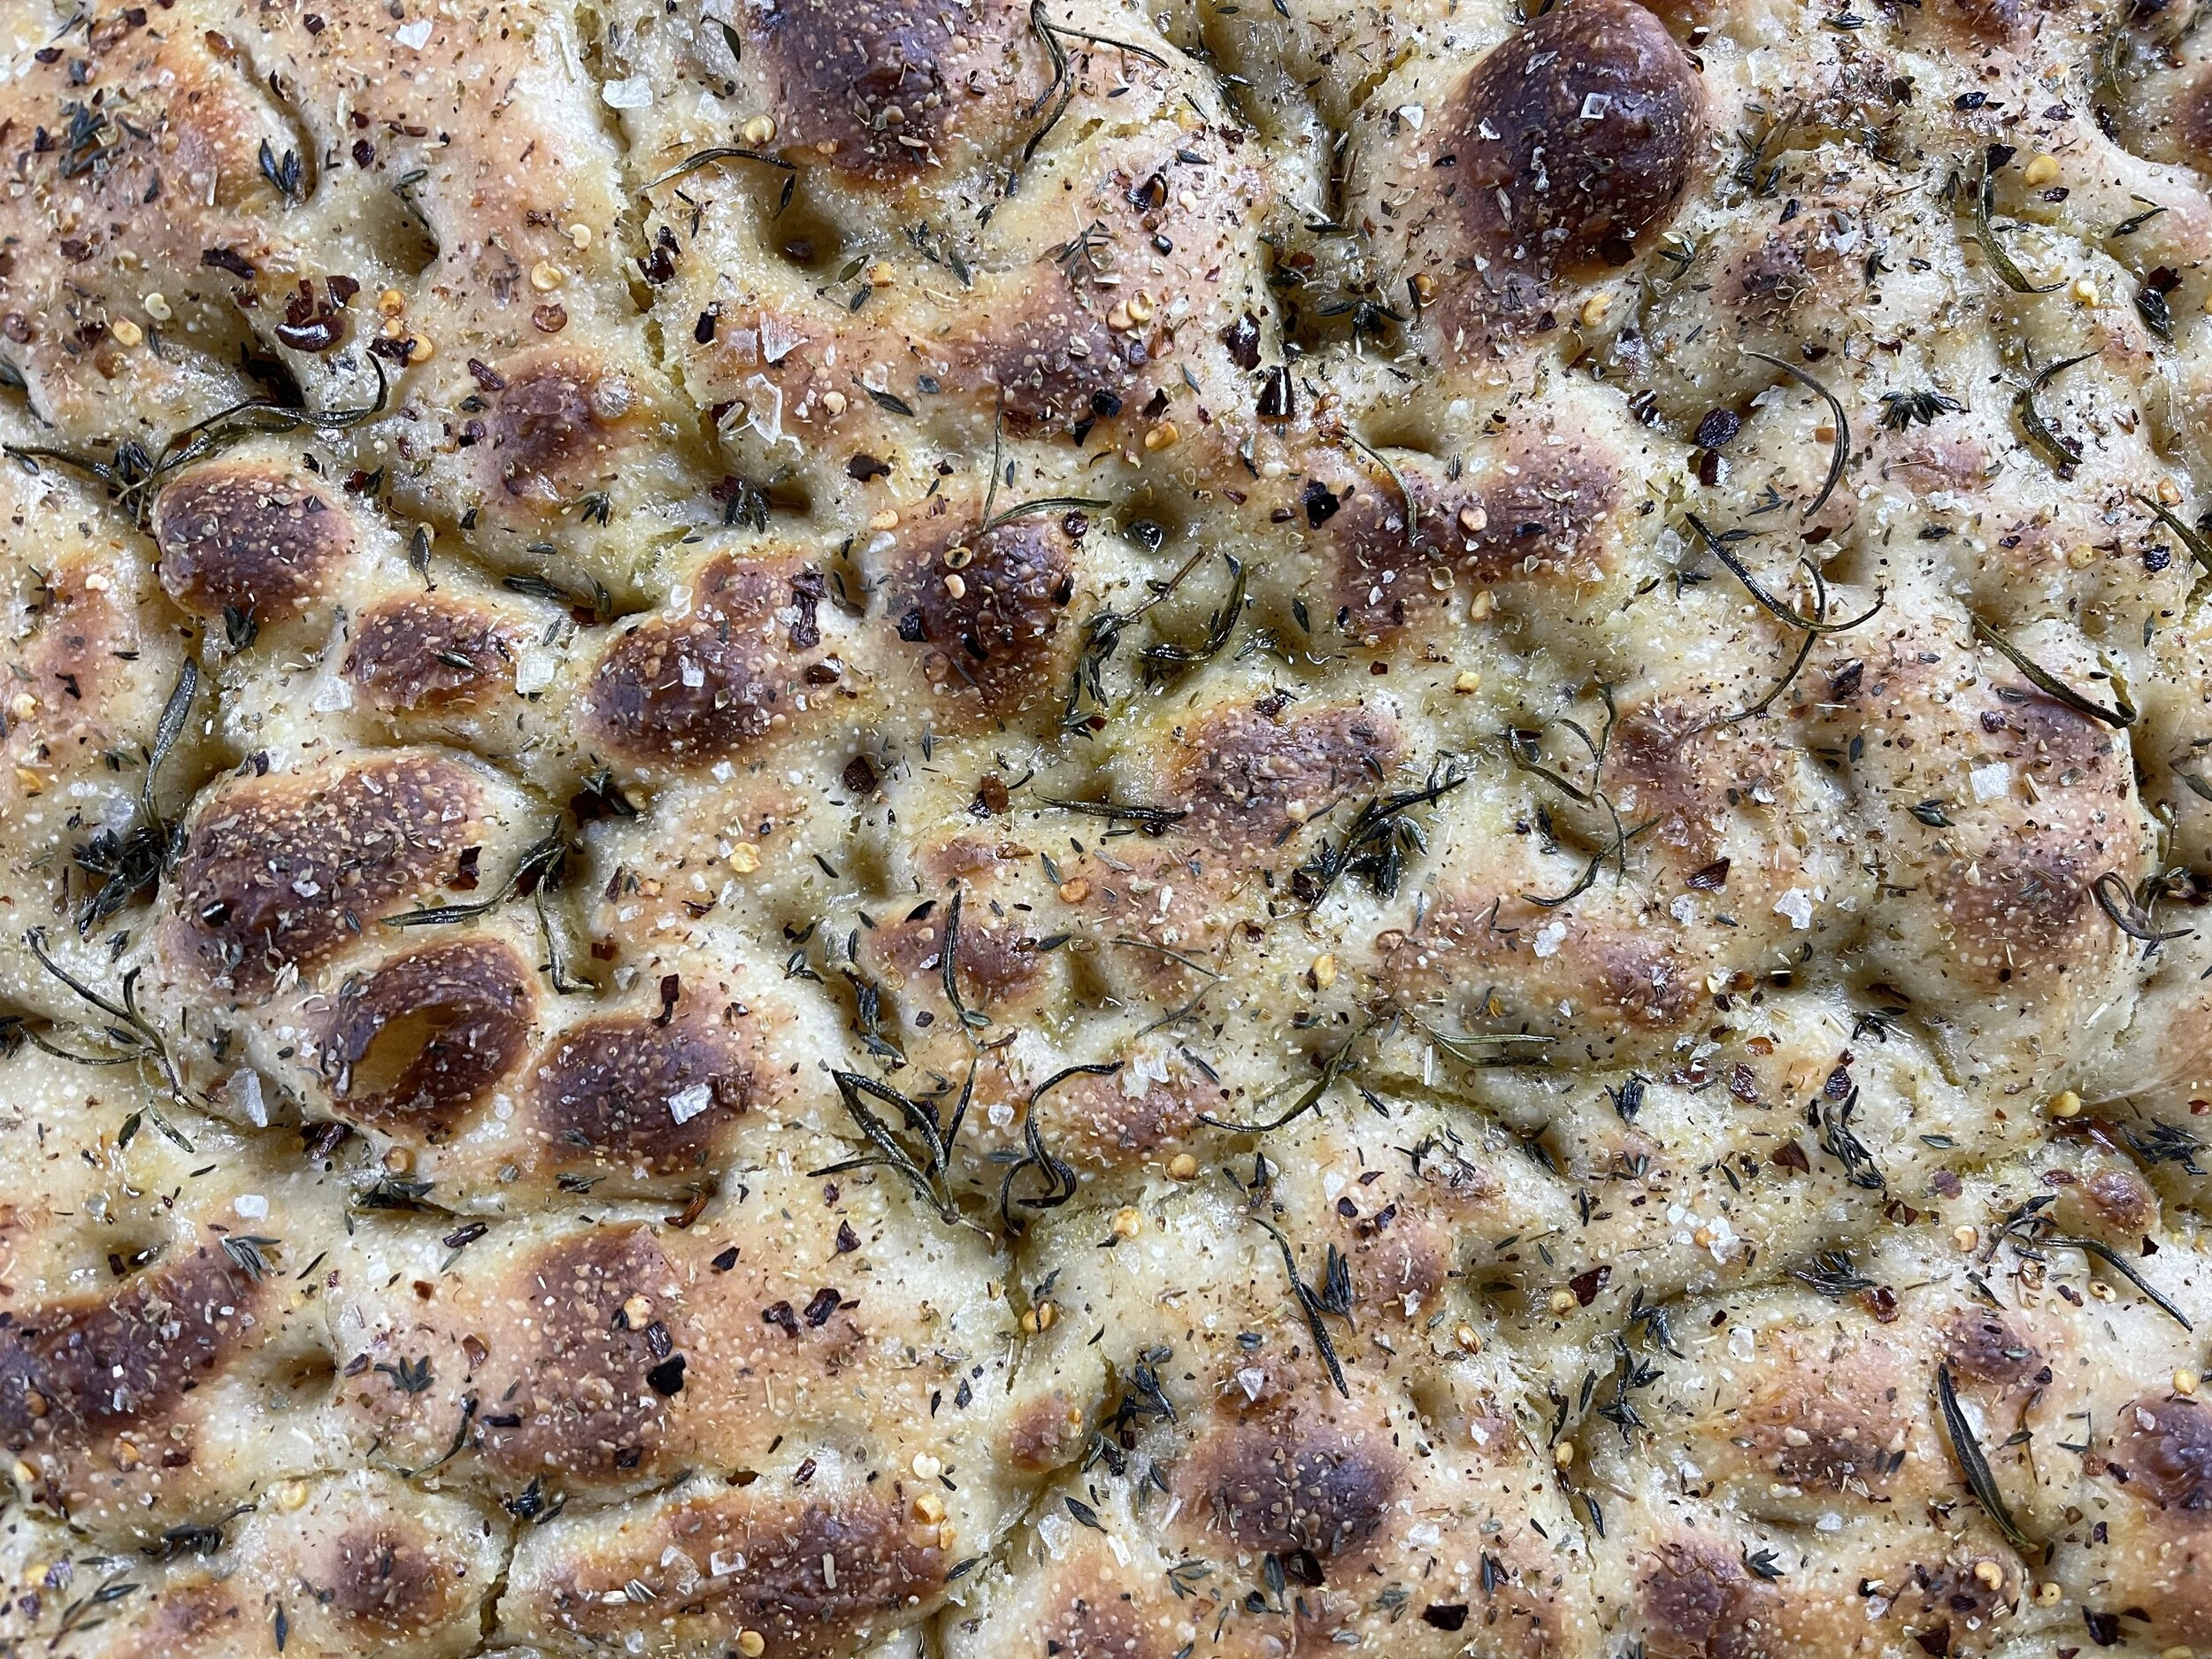
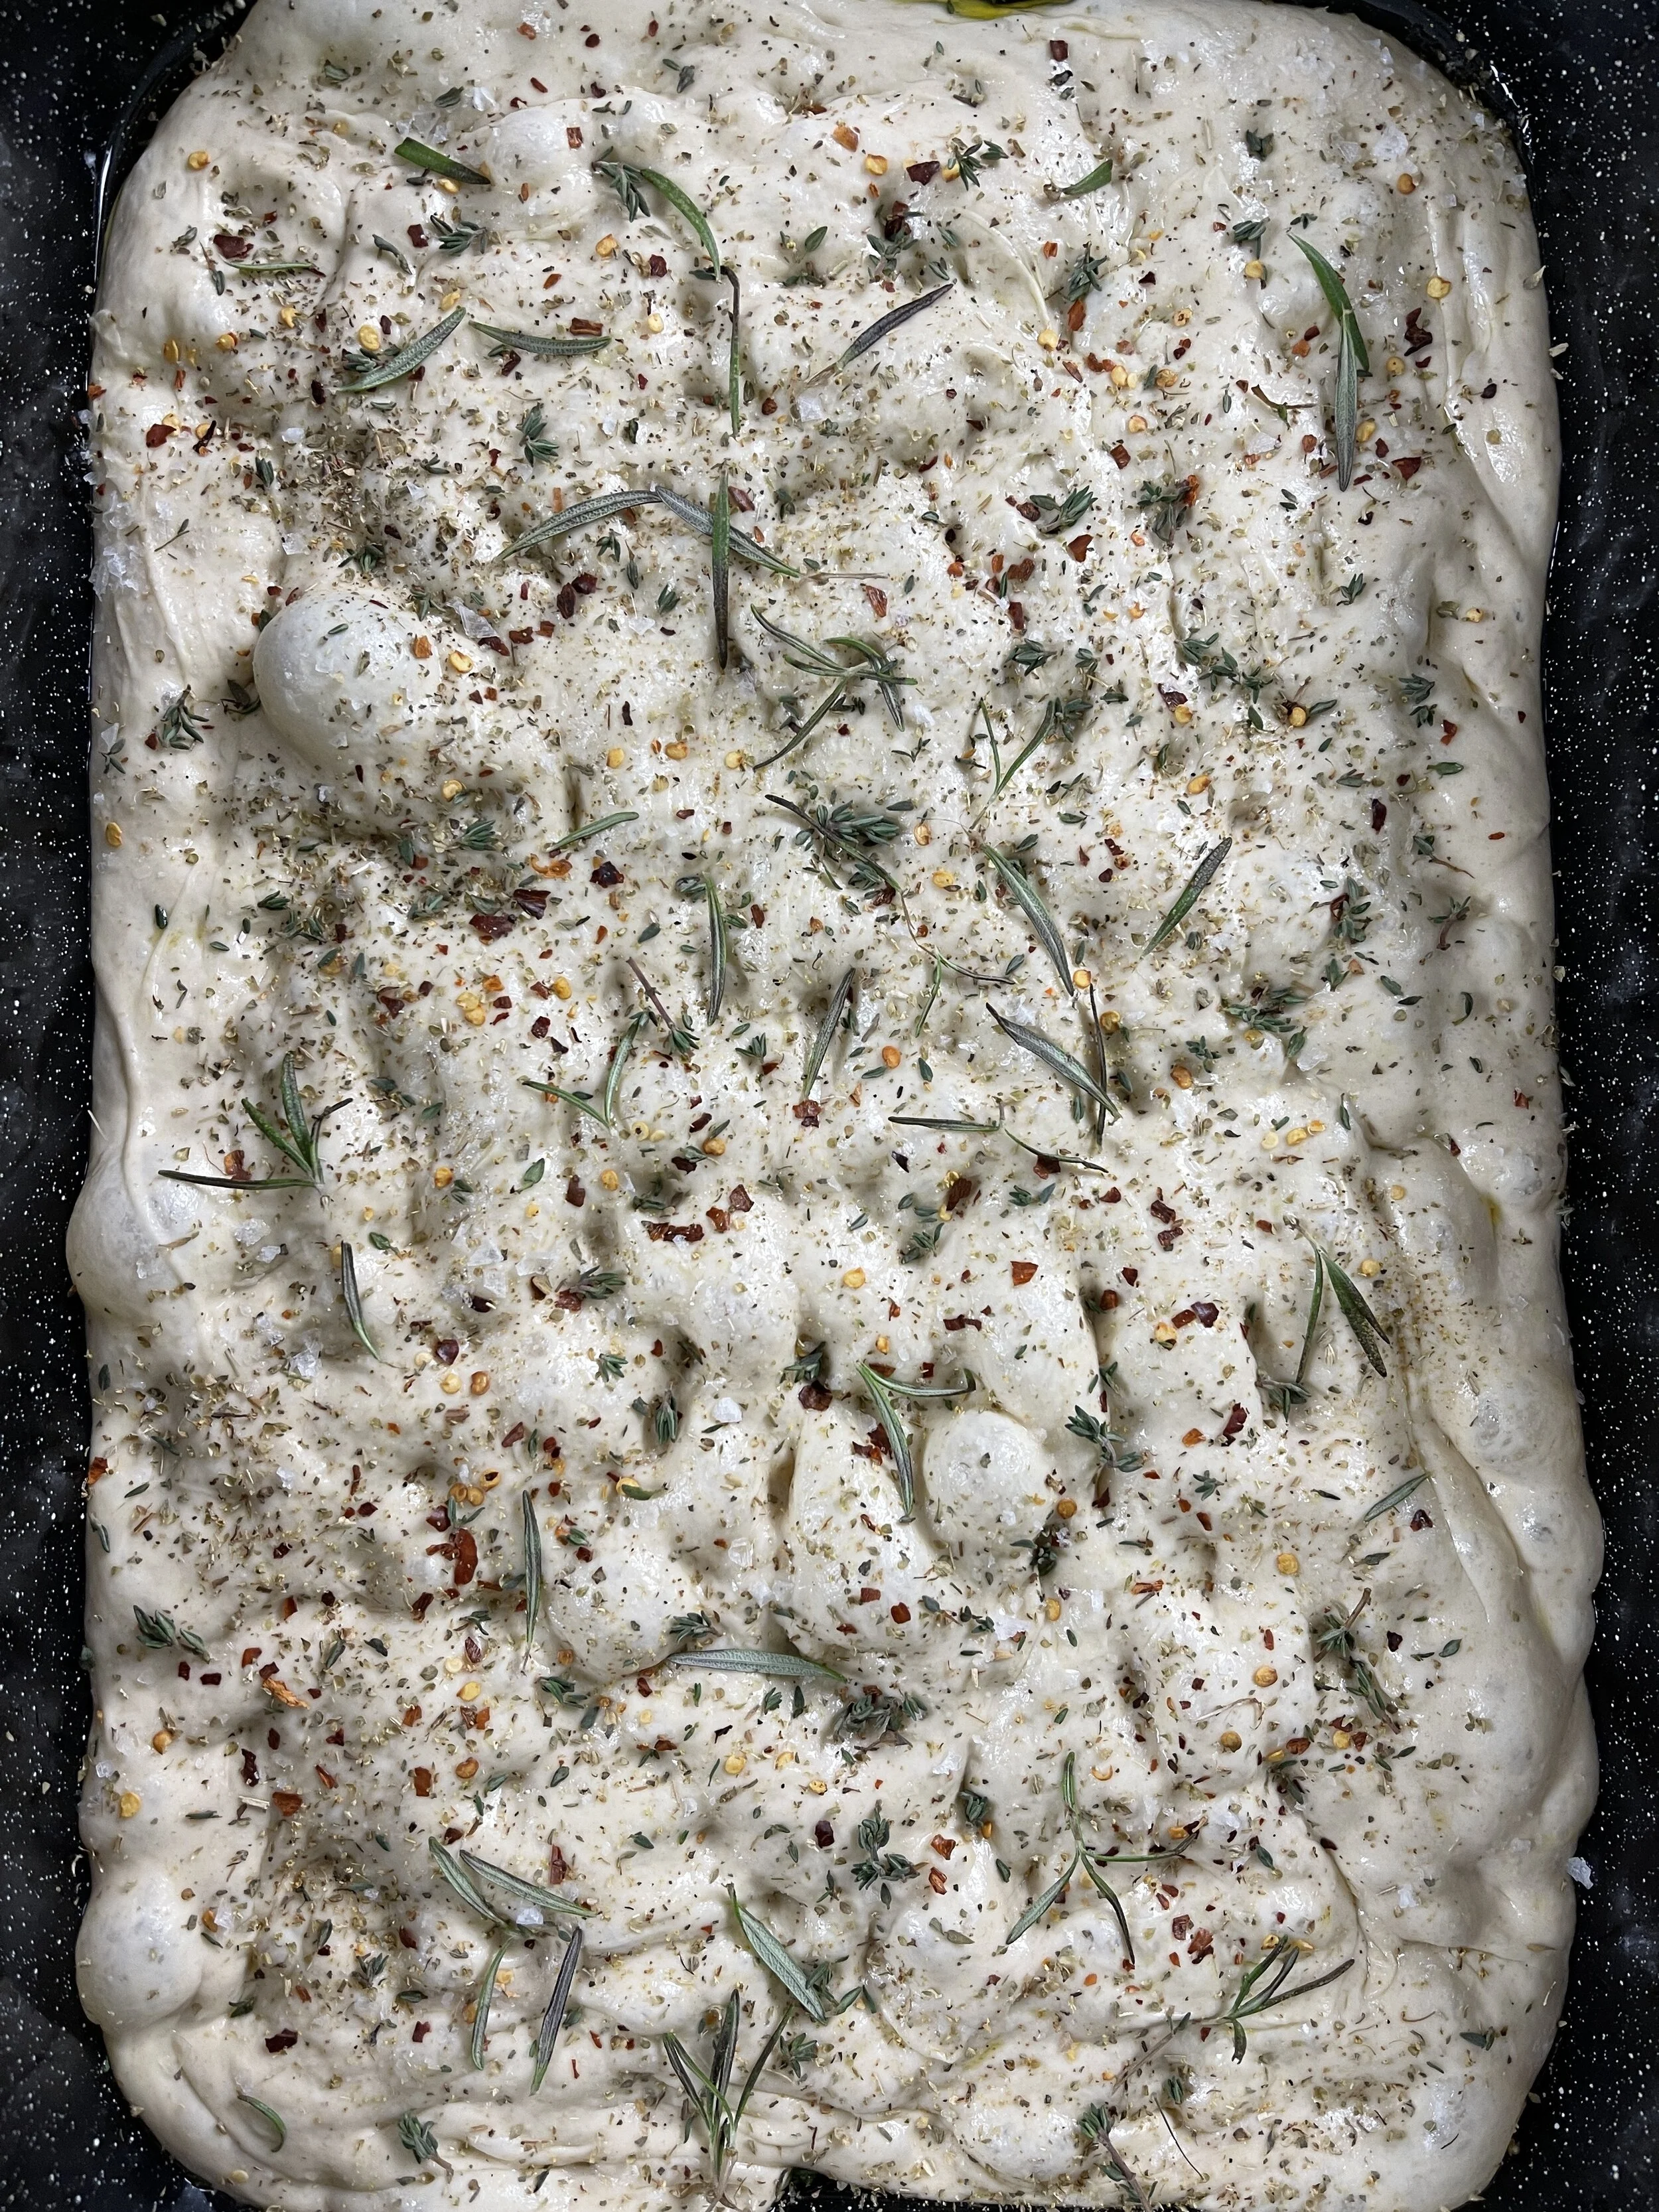


Welcome bread People!
Greetings! I am so excited to talk BREAD with all of you!
Please note, there is a lot of information provided. Please read through everything at least once before the weekend of the livestream. Let it all soak in, and then read it again. If you have any additional questions, you can use the button at the bottom of the page.
To cook along, please be sure to have all of your ingredients, measured out, room temperature, and organized! If you plan to make the bread with me on the day of the livestream, be sure to start your levain/preferment the day before, and start the “autolyse” mix 45min- 1hr, prior to the workshop.
I will have different batches of dough prepared at various points in the dough making process. This is to sidestep the long slow fermentation. While the class is interactive, and you can cook along - Keep in mind, properly making bread takes time and planning.
Plan your dough making process accordingly. The dough we make today, will ideally not be ready until tomorrow. This is a three-day process.
**For example: If you want to eat on Sunday, start the “levain” on Friday, watch the video and mix/build on Saturday, and then shape, proof and bake with me on Sunday.
Please plan accordingly, and don’t be afraid to ask questions for clarification - that’s what I am here for!
I prefer to mix my doughs by hand. There is something ritualistic about the dough making process, bringing us closer and keeping us connected with our ancestors. You are welcome to use a mixer with the dough hook, just keep in mind to monitor the dough temperature and be sure not to over-mix.
Keep in mind that dough making is incredibly temperamental and fickle. Proofing times and temperatures vary from day to day and kitchen to kitchen. I’ve done my best to make this recipe universal, but keep in mind that it may not be perfect on your first attempt, as there are MANY, MANY factors that can affect the outcome of a dough. Monitor temperatures as best you can, make adjustments when needed, and use your best judgement. REMEMBER THAT A RECIPE IS JUST A ROAD MAP - YOU STILL NEED TO “DRIVE THE CAR”.
The ingredient amounts can be found on the spreadsheet link on the bottom of the page. The cells are all automatically populated - all you need to do is plug in the circular pan size you are using, and how many pans of pizza you would like to make. Make sure to adjust the “flour factor multiplier” and the rest is generated for you.
I prefer 7-9” disposable aluminum pie tins or cake pans. The light weight material heats quickly in the oven, and allows the dough to proof more evenly. If you prefer rectangular pizza pans, you’ll have to adjust the formulas accordingly on your own.
Notes on Ingredients
There are only a few ingredients in bread, therefore; it makes sense to source the best you can find. I prefer freshly milled flour. The heritage bread flour blend from Hayden Flour Mills is great for this recipe. (Trust me, it will change your life!). If you are unable to source a blend of wheats, I prefer King Arthur Bread Flour.
You can use any flour you'd like for the starter flour. Think of that as a flavor booster. If you have a whole wheat blend you like or you are able to find something interesting and local, that would be great. If not, bread flour will work just as well.
Be sure to use INSTANT YEAST; active dry yeast needs to be bloomed before being added to a recipe, and fresh yeast would require different amounts. This recipe can be adapted to include a sourdough starter - use your favorite ratio, based on the strength of your starter.
I use Diamond Crystal kosher salt, wildflower honey, a mild and light extra virgin olive oil, and filtered water. Every detail makes a difference when making pizza or dough.
I don’t think I need to make a list of pizza toppings. The possibilities are endless. Pepperoni, mozzarella, dried oregano, fresh basil, or grated parmigiano are some of my favorites. I prefer a tomato sauce that has been cooked down until thick for my pan pizzas - but use whatever you enjoy best. I recommend canned tomatoes from Bianco DiNapoli - you can find them at Whole Foods. Thick or thin cut pepperoni, low or high moisture mozzarella, there is no right or wrong answer - each just produces a different style of pizza. If you decide to choose thick cut pepperoni, be sure to buy a log of pepperoni in the casing, then thickly slice the pepperoni yourself. I don’t necessarily have a favorite style of pizza, and I usually just make whatever I am in the mood for.
Dough Making Instructions
Reminder - this is a three day process, beginning with the preferment the night before building and mixing your dough. Be sure to refer back to the spreadsheet for amounts while following these directions.
At least 12-18 hours prior to making your dough, begin by making a “preferment” or “levain”. I usually start this the night before. In a small clean bowl - using a small spatula or your hand, mix together the flour, warm water (80F), and yeast. Stir until homogenous and combined.
Cover with a lid or wrap, and leave on the counter overnight. I prefer to leave it in my oven (off), because my kitchen gets cold at night.
The following day - begin building your dough.
Start the autolyse by combining the milk and water, bringing the temperature of the liquids to (80F). Add almost all of the milk and water mixture, to the blend of flours - reserving approximately 60g.
Mix together the flour and liquids by hand until homogenous and no shaggy bits remain. Cover and set aside for 45 minutes.
After 45 minutes, add the yeast, honey, and 30g of the reserved liquid to the bowl of preferment. Mix to combine.
Using the “Rubaud” mixing method, incorporate the preferment into the dough by hand.
After thoroughly combined, cover and place somewhere warm to rest for 25 minutes. Take note of the time, or start a timer, this marks the start of the bulk proof.
Add the salt, remaining water/milk, and olive oil to the dough. Using the “rubaud” method, mix the dough together until homogenous, soft and supple. This mixing should take around 5 minutes by hand.
Cover the bowl and place somewhere warm for 30 minutes. An ideal dough temperature throughout the proof is 78º-80ºF.
After the rest, begin a series of stretch and folds. With slightly wet and warm hands - grab a piece of dough from the edge of the bowl and pull upwards, stretching the dough and pull towards the center of the mass. Turn the bowl a 1/6th of the way around, grab an adjacent piece of dough, and pull upwards stretching and folding the dough over itself, bunching the dough in the center onto itself. Repeat this process, rounding the dough for 4-8 stretch and folds. As best you can, gently flip the dough over itself, placing all the folded seams down on the base of the bowl. Cover and let rest 30 minutes.
After the dough has rested, repeat the same stretch and fold technique once more. Stretching and folding dough up and around itself 6-8 times, but instead of flipping the dough over into the same bowl - transfer to a clean, dry, container with a lid for proofing. Place somewhere warm, and rest for 30 minutes.
After the dough has rested, you’ll begin a series of coil folds, every 30 minutes, for remaining bulk proofing time. With wet hands, grab the dough from the center and pull upwards stretching the two ends of the dough long. Allow the end furthest away from you tuck underneath and the dough mass and then gently place the dough down on top of the fold. Rotate the pan 180º, and grabbing the whole mass of dough stretch upwards, allowing the now far end to tuck underneath. Rotate the pan 90º and repeat this process in the other direction. Rotate the pan another 90º and complete the 4 sides fold on the last side of the coil. Cover and let rest 30 minutes.
Continue the same process of coil folds every 30 minutes over the next 4 hours. Monitor the temperature of your dough, its growth, and its strength building with each series of folds - taking care not to deflate the dough when handling.
When the dough has doubled in size and does not spread to the edges of the pan after its folds and 30 minutes rest the bulk proof is complete. This usually takes 4-6 hours.
Place the dough covered in cold (37ºF) storage for 14-18 hours.
The following day remove the dough from cold storage and using a dough knife portion and weigh the dough on a clean work surface.
Once portioned, carefully fold the dough into rounds preshaping. Allow to rest uncovered for 25 minutes.
Using a dough knife, give the dough a final shape, tightening the surface and rolling the balls into rounds. Rest uncovered for 25 minutes.
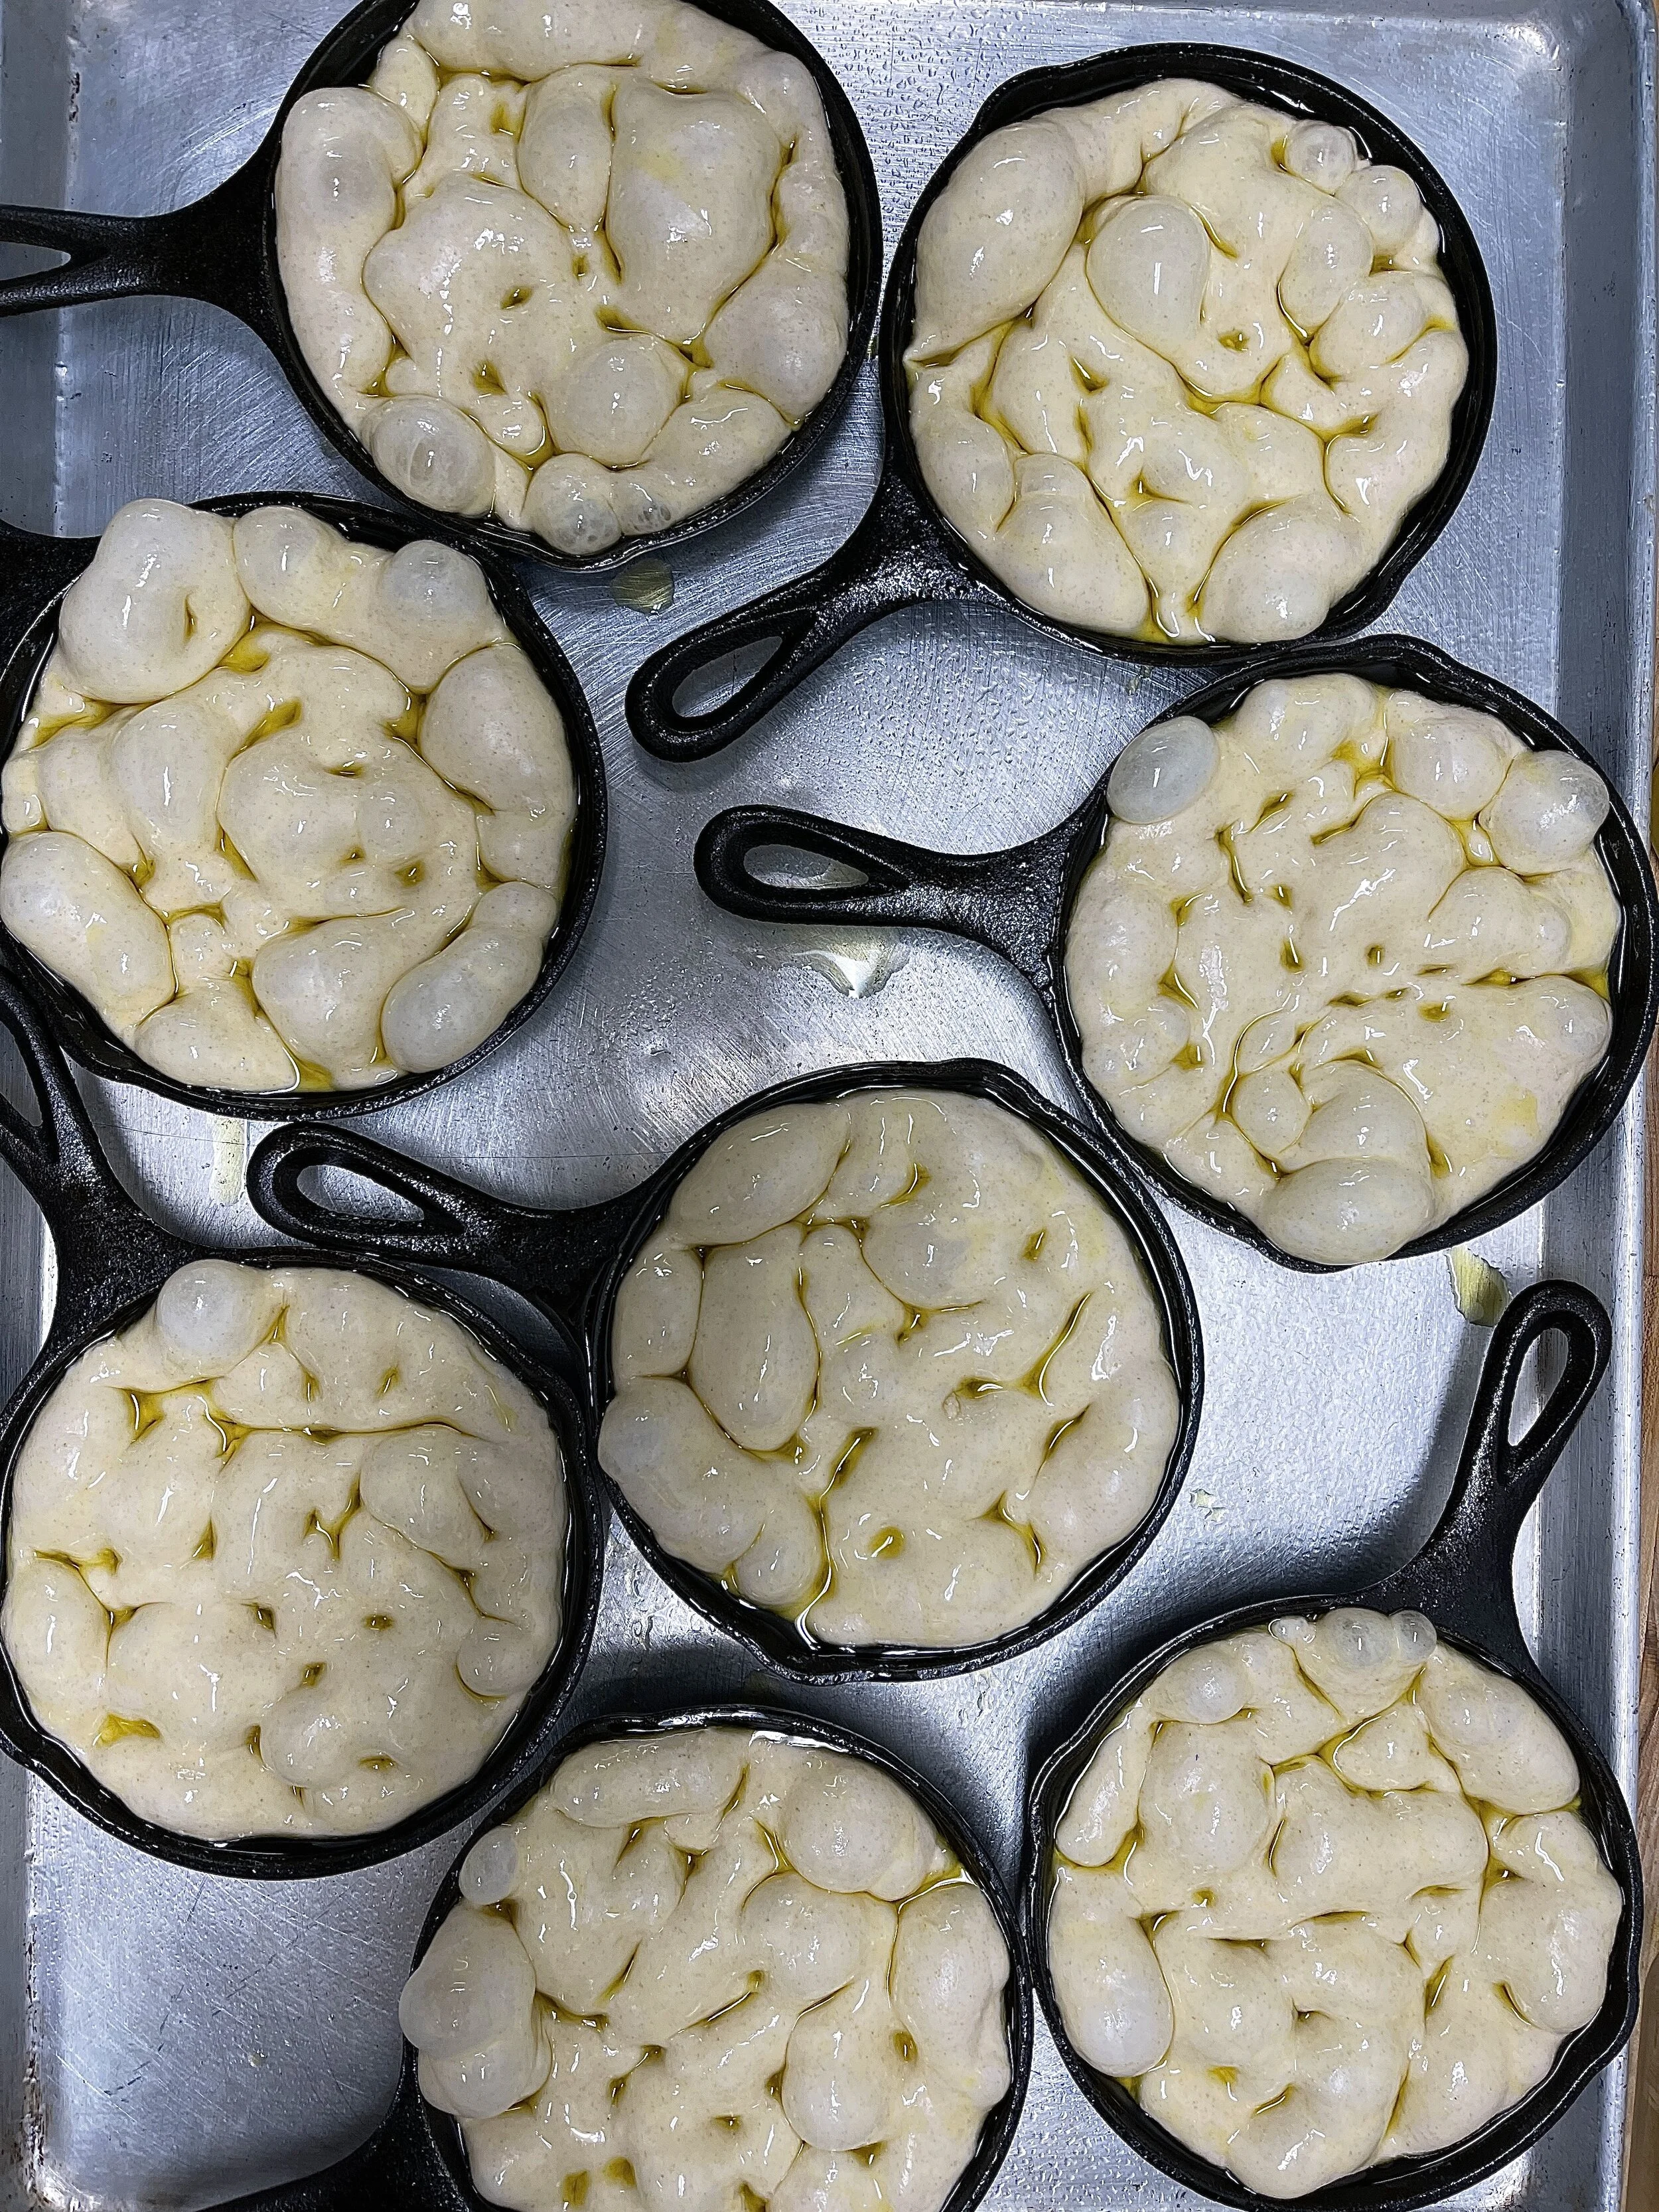
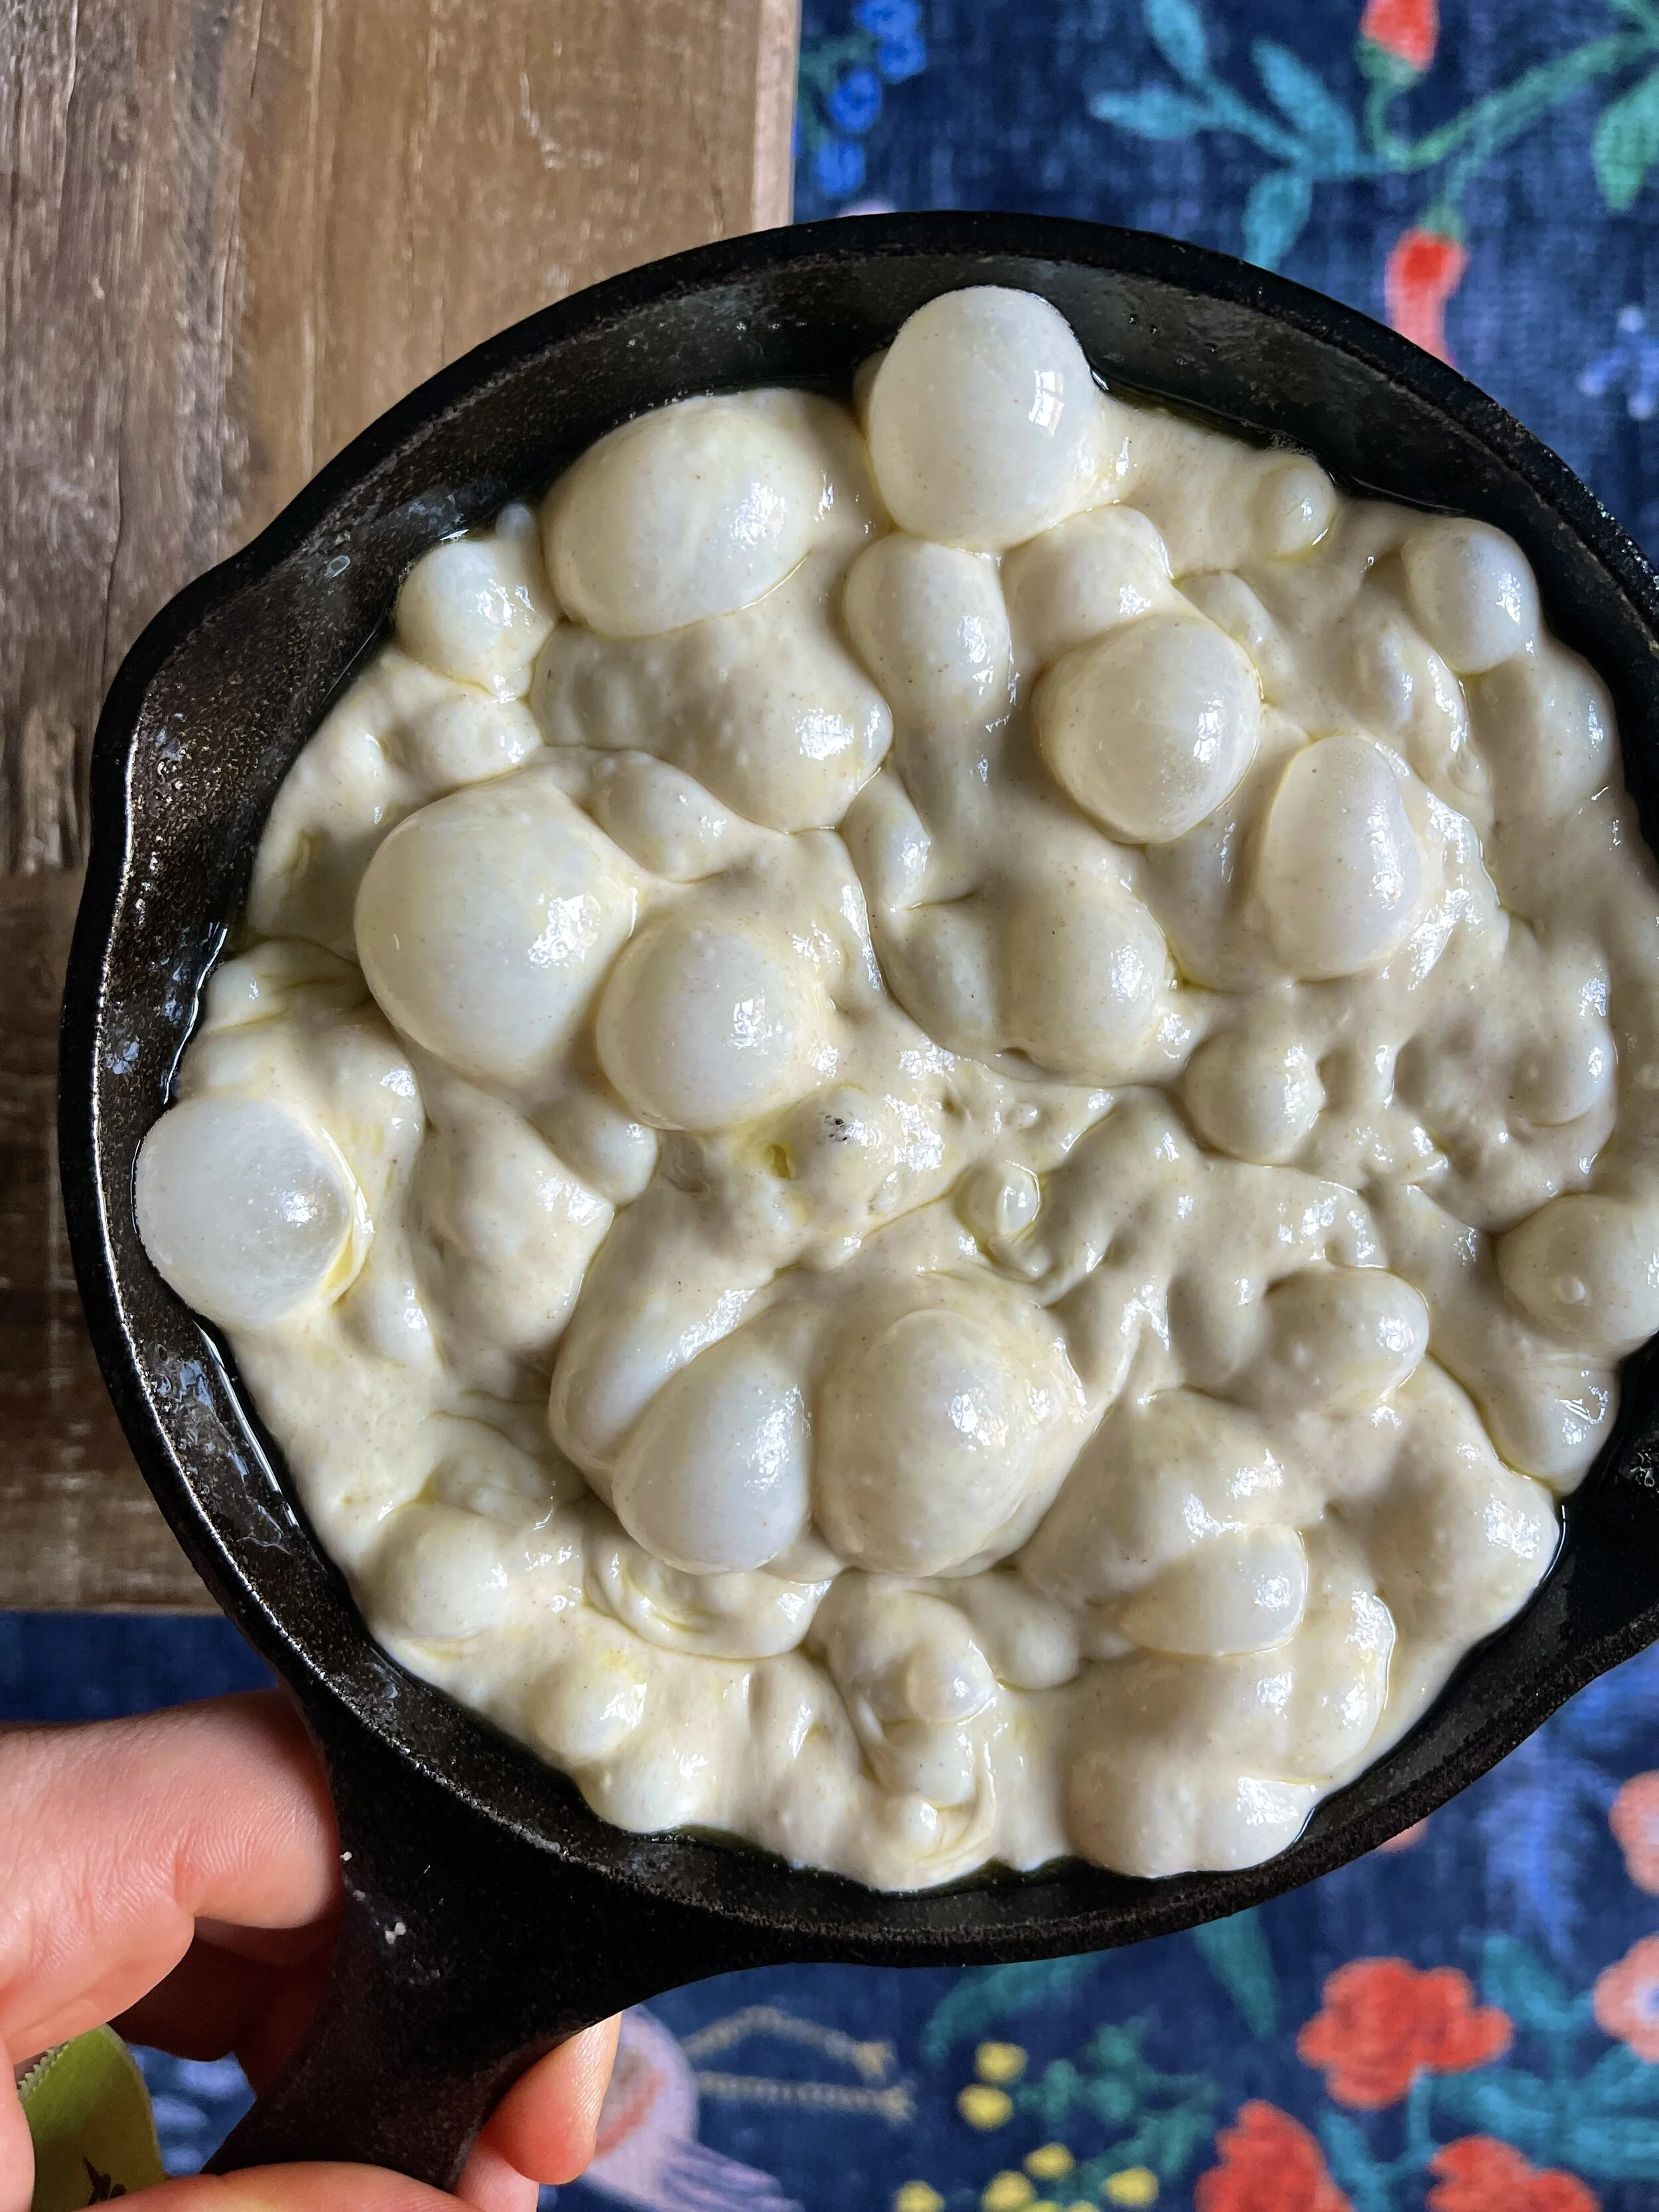
Transfer the dough to liberally sprayed and oiled baking pans. Allow to rest, covered, for 2-4 hours at 78F-80ºF until relaxed and doubled in size.
Preheat your oven to 500ºF at least, one hour prior to baking.
Once dough has proofed, drizzle with olive oil, and with oiled hands, aggressively dimple the dough. Place on the toppings and bake.
Immediately lower the oven to 425ºF and bake for 20-25 minutes until golden brown and bubbling.
Once baked, quickly remove the pizza from the pans and place on a wire rack to cool and preserve the crispy crust.
kitchen equipment
dough knife or bench scraper
kitchen scale
7-12” cake pan or disposable aluminum pie tin
non-stick pan spray
Reusable shower caps / lid for bowls and containers
kitchen thermometer
kitchen towel
large mixing bowl (for dough)
small mixing bowl (for preferment)
container with lid (for proofing)